Jewellery Manufacturing
If you’re a wholesale jewellery buyer with an online or physical store that you are purchasing for, then it’s important to understand the manufacturing process.
Having this essential knowledge will help you communicate successfully with us as your jewellery supplier and manufacturer, which will allow the production process to proceed smoothly and efficiently. This knowledge is especially important if you’re going to be working closely with us to design and manufacture your collection. Finally, it will better help you understand how the associated costs of jewellery manufacturing are itemized, so you can be as informed as possible when you get that invoice!
JEWELLERY MANUFACTURING STEP 1 : JEWELLERY DESIGN

After the initial idea and/or sketch is developed, it’s time to start work on the digital model. Using CAD (Computer Aided Design) and CAM (Computer Aided Manufacturing) software, our 3D designer will make a digital render of your jewellery.
While this step is great for you to see your jewellery before committing to full production, keep in mind the 3D model is made for functionality first, not aesthetics, so it might not look as pretty as your finished piece!
JEWELLERY MANUFACTURING STEP 2 : WAX CARVING
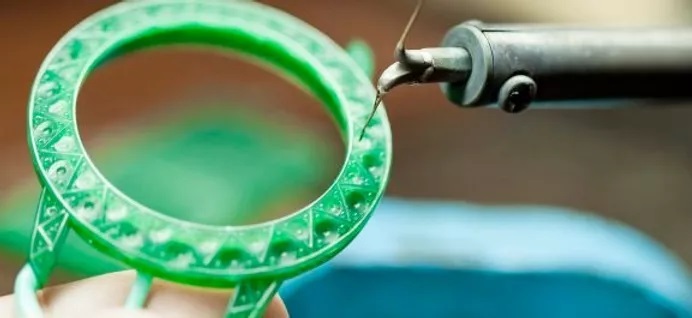
After the design is finalized, the next jewellery manufacturing process is to create a wax model with all the fine details. Depending on the complexity of the design this may be hand carved or made using a computer aided wax making machine. The computer file of the 3D model is transferred to a milling machine to cut out a wax model or a 3D printer will construct an exact replica of the jewellery.
JEWELLERY MANUFACTURING STEP 3 : MASTER MOLD
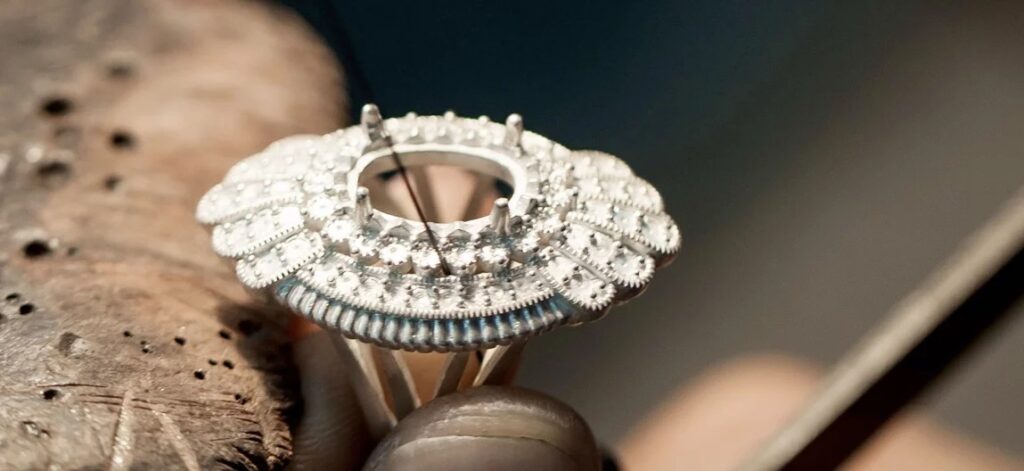
The fine carved wax is then imbedded in a metal cylinder which will be filled with Investment which is plaster of Paris with additives, so that when set and dried it will withstand heating to casting temperatures without cracking. The mold containing the hardened plaster is heated in an oven at extreme temperatures to burn away any wax traces, leaving a hollow impression of a jewellery shaped in the hardened investment. That space is filled with silver, forming a duplicate of the original wax design, or called the silver master model.
JEWELLERY MANUFACTURING STEP 4 : THE RUBBER MOLD
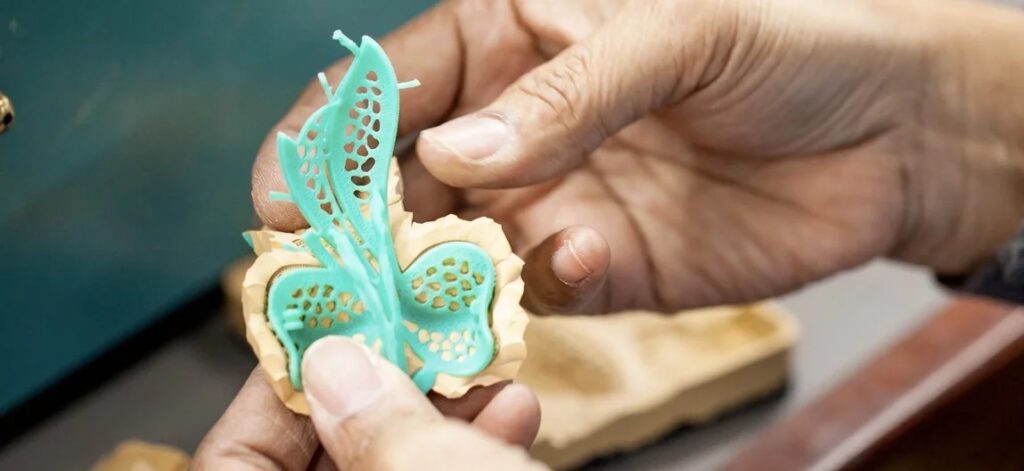
The master model is then sandwiched between layers of special mold rubber and squeezed tight under high heat and pressure until it forms a solid block. The rubber forms itself around the master model, creating a perfect three-dimensional impression of the piece of jewellery. The rubber is cut in half to remove the silver master. Then the rubber is put back together and the final result is the rubber mold which can be accurately duplicated for thousands of wax replicas for mass production.
JEWELLERY MANUFACTURING STEP 5 : WAX TREE
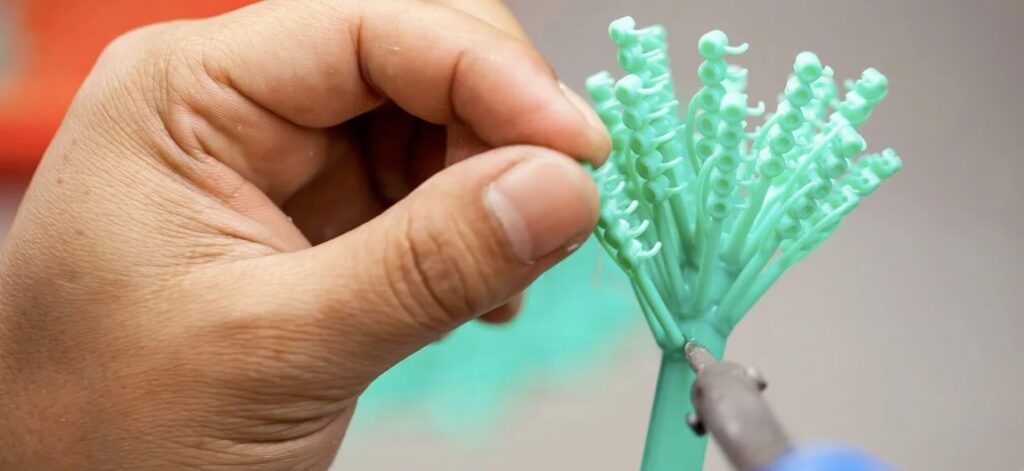
Prior to injecting wax into the rubber mold, the rubber mold cavities must be cleaned with an air gun or soft bristled brush. The wax injector must use a mold release product, such as talcum powder to make an air way opening. The use of powder is absolutely necessary because it enables the parts of the rubber mold to remain separate, and thus ensures the complete escape of all air and allows the injected wax to completely fill all crevices of the rubber mold.
Now hot wax can be injected through a hole in the rubber to fill the jewellery-shaped space inside, forming a wax reproduction of the master model. After the wax hardens, it can be removed and inspected for quality, and will reveal any flaws in the rubber mold. Once a wax has passed through the quality control team, it is time to attach the wax to a small wax tree.
Multiple wax models can be attached to form what is called a wax tree and placed in a cylinder mold. Creating a tree allows us to cast multiple jewellery pieces at once. The wax models are attached to a sprue, which is a thick straight cylinder wax rod and will eventually form a channel for the molten metal to enter the mold. Once the tree is finished and all the wax jewellery models are attached, it is now ready for the process of ‘lost wax casting’.
The wax tree will be placed into a metal cylinder, known as a flask, so that a plaster substance, combining investment powder and water can be poured over to create the molds. The flask of wax models is then put into an extremely hot oven overnight so that the detail of the wax pieces is captured in the mold as the wax is absorbed. The quality of the wax is probably the most underrated part of the casting process. Any defects in the wax like distortion or internal air bubbles will dramatically affect the end results of the casting. Our mold cutters and wax injectors work very closely to insure that every mold is working perfectly to produce the finest wax possible.
JEWELLERY MANUFACTURING STEP 6 : LOST WAX CASTING
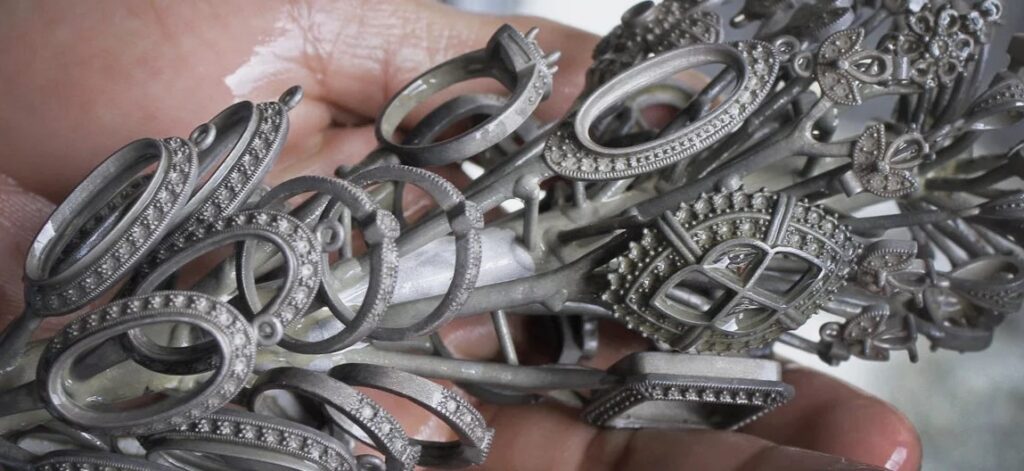
After the mold is hardened and wax is burned out, grains of gold, silver or brass alloy and other metals added to it, are melted in a separate casting machine furnace. When the metal is the correct temperature, it is poured into the hardened plaster mold with the tree impression. Sometimes it is spun to make sure that the molten metal quickly fills the topmost branches of the tree, with every detail, before it starts to cool. Once the silver hardens, the mold will be put into a bucket of cold water to dissolve the plaster.
The models are then cut free from the sprue and the process of polishing, fabrication, and stone setting can begin.
JEWELLERY MANUFACTURING STEP 7 : ASSEMBLY
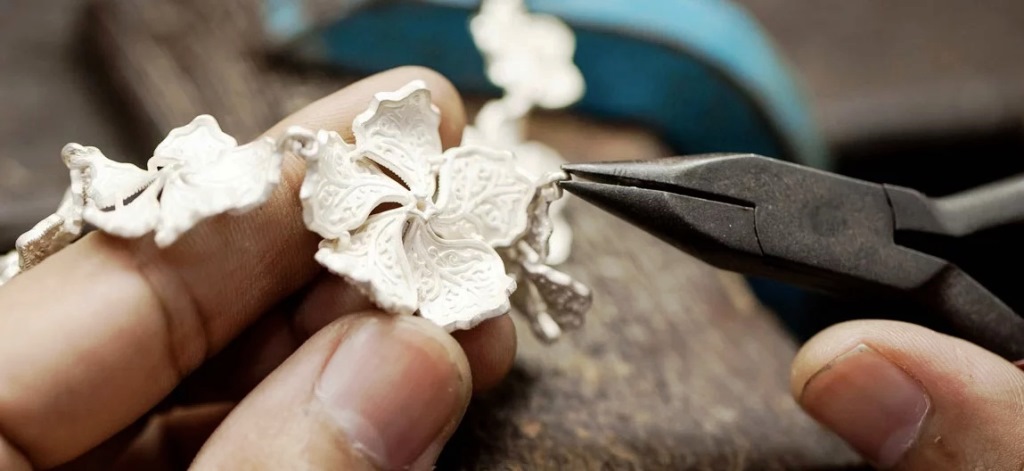
Now that all the jewellery pieces are cast and pre-polished, the next jewellery manufacturing process is assembly. Here is where earring posts are added to the earrings, bails to hold pendants are added, or bracelet links are attached. To do this, a special silver alloy that melts at a slightly lower temperature than our cast pieces of jewellery is used to solder or weld these silver pieces, called findings, into place. Once all the soldering is completed, the jewellery creation is ready to move to the pre-polish stage.
JEWELLERY MANUFACTURING STEP 8 : PRE POLISH
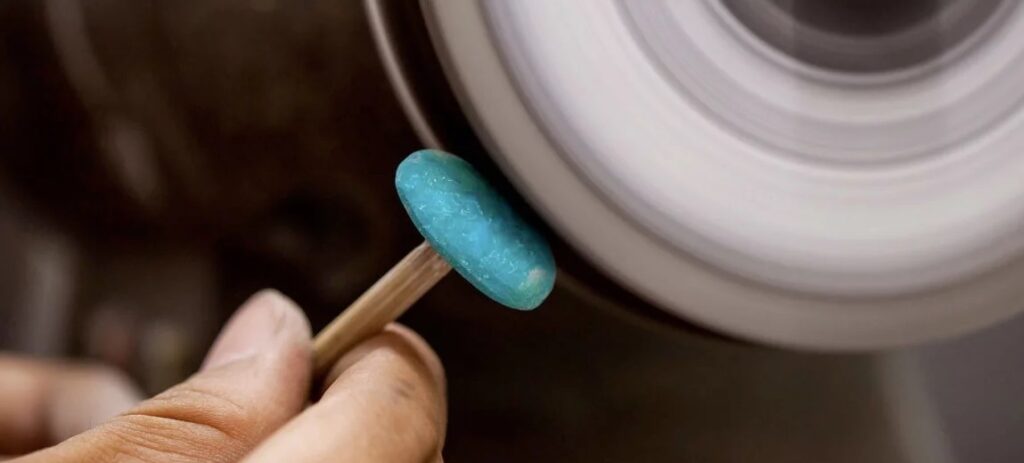
With metal work completed, the next step in jewellery manufacturing is buffing and polishing. Jewellery polishing is a multistage process whereby metal is buffed with soft rotary tools made from bristles, felt, or muslin. Applied in descending stages, from coarse to fine, wheels are charged with various polishing compounds to achieve the desired luster. The experienced craftsmen employ special techniques that bring out the ultimate luster in every piece of jewellery created.
JEWELLERY MANUFACTURING STEP 9 : SETTING STONES
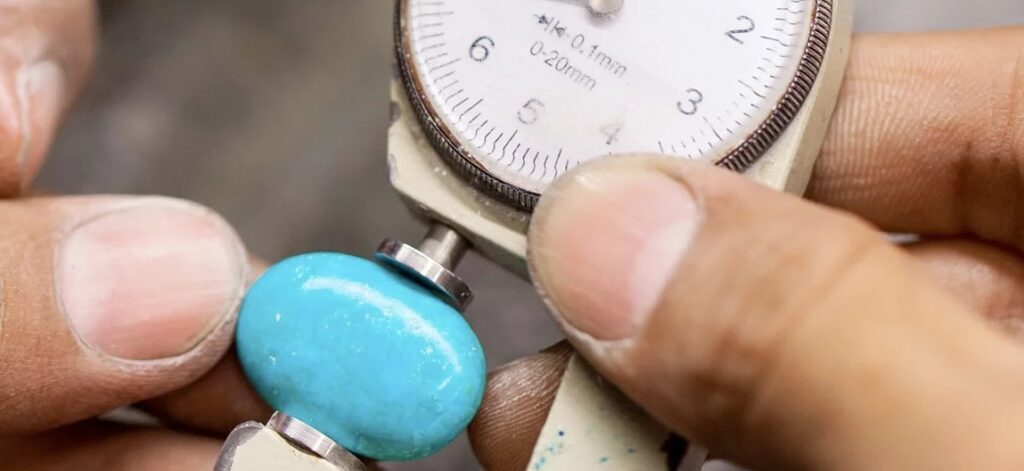
Stone setting is one of the essential stages of jewellery manufacturing, in which gemstones are attached in a metal casting. Well designed stone setting techniques must achieve several goals simultaneously – the setting must hold a gemstone securely, enhance the brilliance of a gemstone by showing its cut, clarity and color, stand up to wear while protecting the stone, as well as artfully compliment the design and structure of your setting.
There are numerous methods to set a gemstone into a jewellery item, which generally is based on a gemstone’s cut and proportion. Some of these methods and techniques use prong settings, bezel settings, channel settings, pave settings, tension settings etc.
JEWELLERY MANUFACTURING STEP 10 : STONE CUTTING
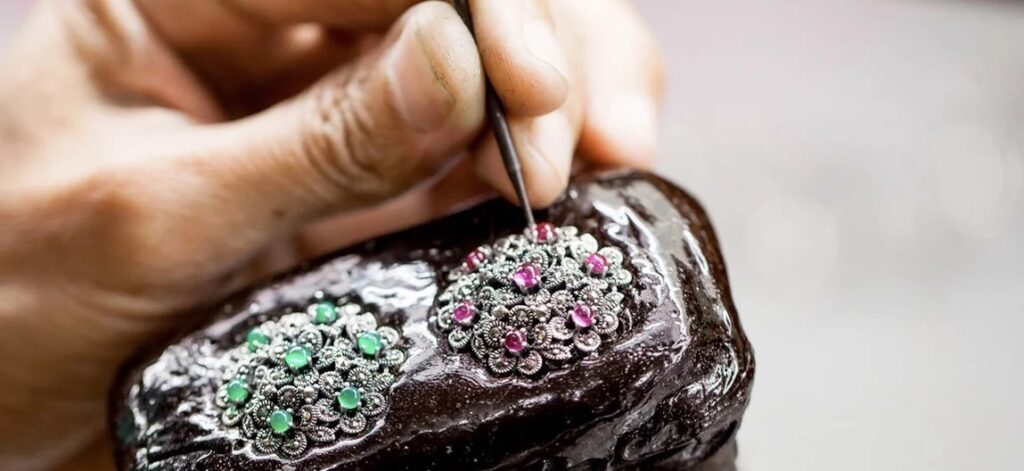
Many designs require individual hand cut gemstones freeform inlay shape. Cutting a gemstone is a slow process of grinding down some of the world’s hardest substances into geometrically precise shapes, faceting or other complicated shapes. It takes dedication and skill to accurately execute each step in the process of cutting and polishing so that each stone perfectly fits the setting. The process begins by using a diamond saw to trim the rough piece into a more manageable size and shape, or to remove damaged or inclusions in the stone.
The stone is ground and shaped on progressively finer wheels until the cutter uses a special polishing lap which is even finer than the faceting lap. It is also primed with very fine diamond powder. Each facet is then polished individually to a high sheen, giving the stone a fine luster.
JEWELLERY MANUFACTURING STEP 11 : FINAL POLISHING
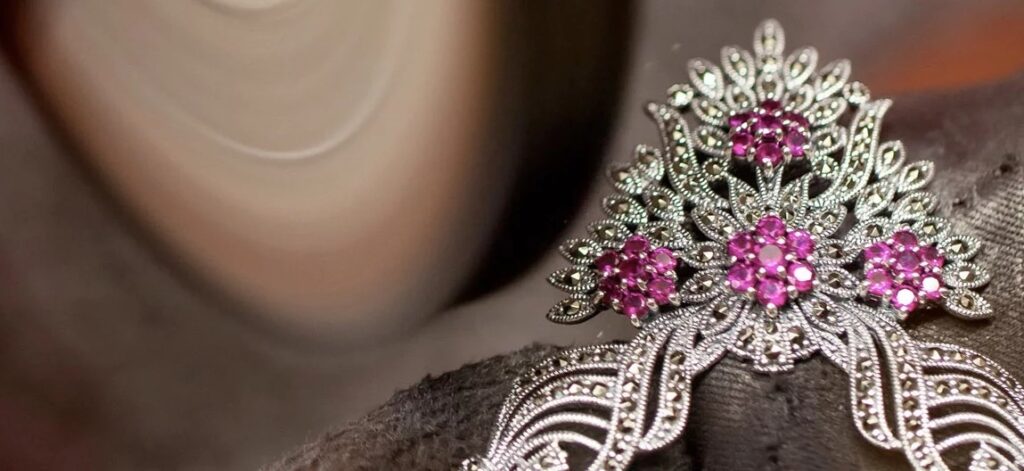
Now the piece of jewellery is finished and it only needs a light final polish to bring out the high luster and shine of the silver. Polishing uses harder compounds such as rouge to achieve the desired luster. Varieties of rouges are available for different uses and are distinguished by their color. For silver metal, this is done by putting fine red jeweler’s rouge on a soft cotton cloth and buffing the piece by hand, making sure that all the details and highlights shine. With rouge, there is almost no cutting action; it burnishes the metal, moving the surface layer around to smooth the fine scratches left from buffing.
